Project Description
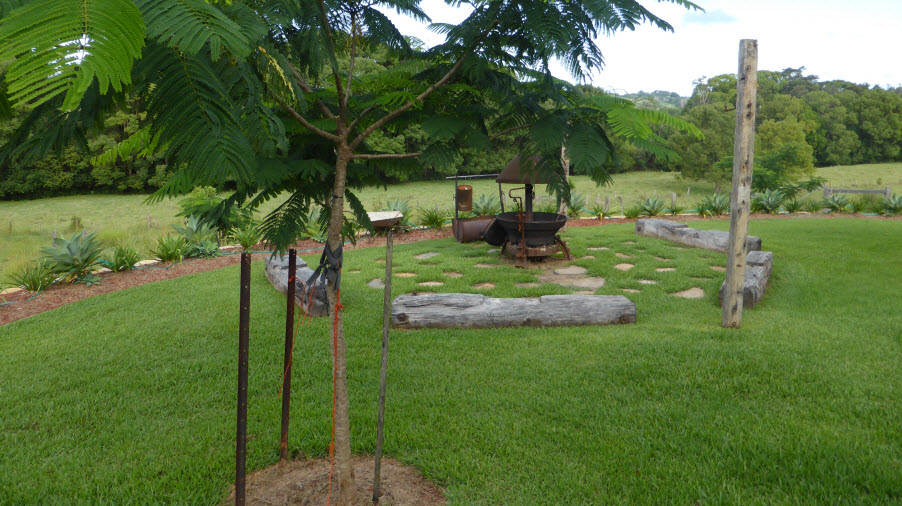
Before the Fire Pit Makeover
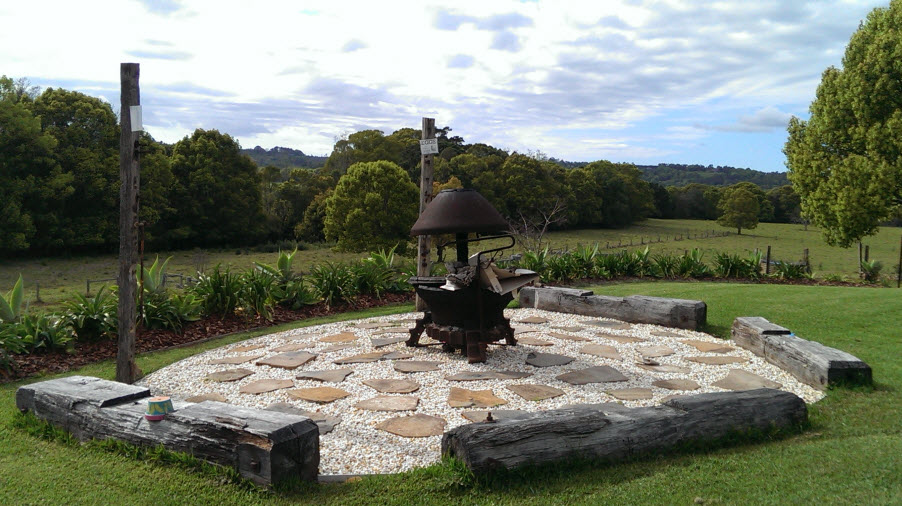
After the Fire Pit Makeover
Fire Pit
Are you looking for a stunning out door space to entertain your friends and family in all year round? Why not try creating your own outdoor fire pit!!
Check out the video below and visit our fire pit page to see our full range of cast iron fire pits for sale at our Lismore and Ballina yard.
You can create your own style but here is how we did this little baby!
Step one:
Choose your area! Make sure it is away from any potential fire hazards and away from the house so you don’t have smoke issues inside. Once you have chosen your perfect spot mark it out so you have exact dimensions, which will help you to work out the materials you need. You need to decide how many & what type of seating you want so you can allow for the seating and your fire pit allow for a minimum of 1.5m from your seating to your firepit. Here we have used our Bridge timber sawn into log seating and placed 1.5m from the actual fire pit. It is such an easy but effective way to achieve a cool outdoor entertaining space.
Step two:
Remove existing grass/vegetation and excavate & level- you need to create a perfectly flat space and allow for a 100mm compacted metal dust for your base as well as minimum 50mm decorative stone or if using paving or stepping stones allow for the thickness of the paver or stepping stone. Here we have allowed for 100mm metal dust and our pavers are 30-40mm thick so we have dug our space to a 140mm deep. If you have a large area I cannot recommend more the use of our mini machines – bobcat & mini excavator they will have this done in a matter of hours and its cheaper than you think I PROMISE!
Step 3:
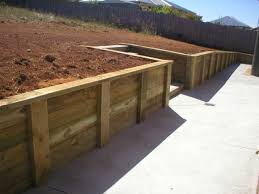
Once your space is levelled and excavated you need to create a border – we have used and can’t recommend enough our LINK EDGING- this is a 3m length aluminium edge in a 50/75/100mm depth (we recommend the 100mm here), by using this edging you can create stunning curves and angles and it is designed to sit flush with its surrounding products creating clean lines and NO TRIP HAZZARDS! If you don’t want to use LINK EDGING then you can source any type of edging you like you just need to create an edge to keep your grass and your stone separate.
Step 4:
Line the base of your firepit with landscapers grade GEOFABRICK… this is for two reason 1. You will stop your decorative stone from being lost into your soil and 2. You won’t have any weed issues… that’s right no more weeds!
Once your weed matting/geo fab is down spread your layer of metal dust down level & compact. You need to make sure you base is now heavily compacted and 100% level so your fire pit & seating sits perfectly.
Step 5:
Place your fire pit & seating into place, making sure you have at least 1.5m space from your seating to your fire place.
Step 6:
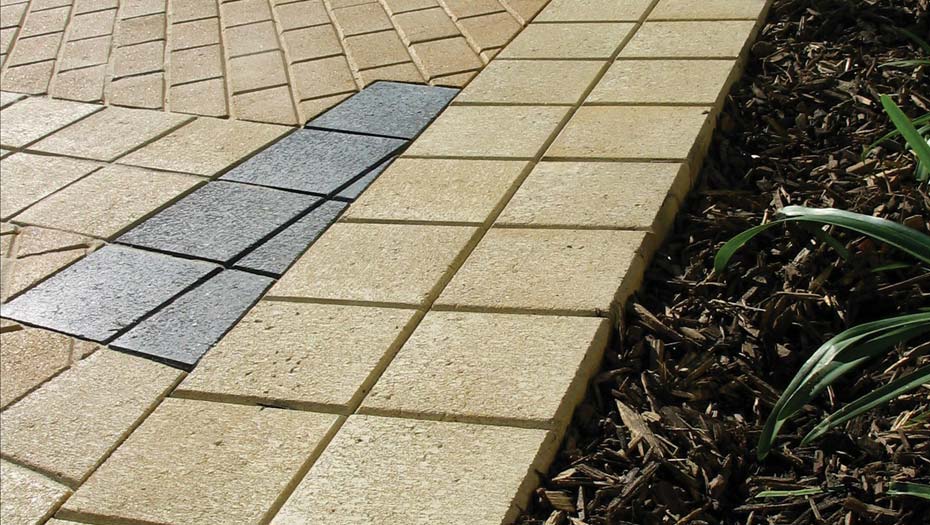
If your using stepping stones as we have here, now is the time to place them down, once you have them in place spread over your decorative stone or crushed granite & you’re done! EASY!! Here we have used our basalt flagging & our Gold Aggregate as a decorative stone.
How easy is that!
What you will need.
Fire pit
Metal Dust
Link Edging
Abmat weed matting
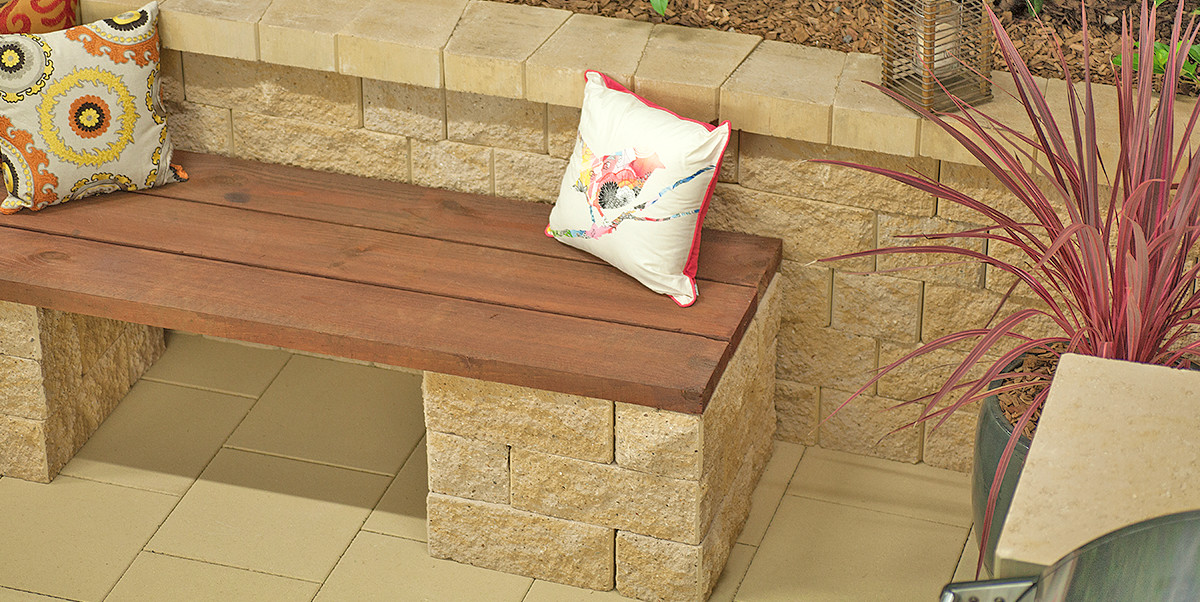
Seating – we recommend bridge timbers or our basalt column rock for this but you can use whatever you want.
Decorative pebble or crushed granite (pop into our yards and take a look at your options there are heaps of options!)
Basalt stepping stones – this is optional but does create a very nice look plus it makes it easy to walk on.
Tool Guide:
Shovel
Wheelbarrow
Screed & spirit level
Rake


